Tuesday, November 30, 2010

Snowflake Gift Series #3!

Hello, and welcome to Day 3 of my Snowflake Series!

Each day with a new project, featuring Stampin' Up's stamp set, Serene Snowflakes!

It all started with the 'secret project' I was working on for Ruth (see bottom of post). One card to make turned into 3, then I got inspired and made several projects to match, using the same materials!

Today's project is quite simple as well. SIMPLE, because I'm not a scrapbooker! lol  Here's an easy lil' scrapbook page - perfect for one picture! :)

Day #3 - 6x6 Scrapbook Page


It's really hard to see in the pic, but I've got touches of glitter here and there - on the snowflakes, and on "SNOW". :)  This project is done using the same products that I gave to Ruth to use - Serene Snowflakes, Marina Mist, Bashful Blue, & Whisper White cardstock, MM taffeta ribbon, 2 way glue, and Dazzling diamonds!!
 
The only difference is that I used an additional set, "Lovely Letters."
 
Why don't you go take a gander at Ruth's matching project?  Click on the icon below to see the project/review, and enter the giveaway too - time's almost up!!! :)
WAIT!  Don't forget how much I *love* to read your comments - what do you think of today's project?

Thanks so much for stopping by, and have a GREAT day! :)
Crystal

Monday, November 29, 2010

Snowflake Series #2 - and TUTORIAL!

Hello, and welcome to Day 2 of my Snowflake Series!

Each day with a new project, featuring Stampin' Up's stamp set, Serene Snowflakes!

It all started with the 'secret project' I was working on for Ruth (see bottom of post). One card to make turned into 3, then I got inspired and made several projects to match, using the same materials!

So here we are with a super-duper easy gift...

Day #2 - Party Favor Treat


Okay, so this is sooo super easy you're gonna be shakin' your head! :)  What I love, is that it uses a semi-common household product!  Can you guess what it is???

Step 1 - Find a bite-sized candy to share. :)
My choice - M&Ms

Step 2 - Take a coffee filter (did you guess correct?)


Step 3 - Lay it out flat, pile candy in middle


Step 4 - Gather filter and secure it closed (I used an unused clear ponytail holder)


Step 5 - Decorate!


VOILA!
Super-easy little gift at each person's plate! :)

To decorate, I stamped out the snowflake with Marina Mist ink onto Whisper White, punched it out, then added a punched layer of Bashful Blue behind it. Added a scalloped circle Marina Mist layer, and then applied dazzling diamonds to the snowflake. Attached with Marina Mist taffeta.

Well, what do you think of this project?

Don't forget to stop by Ruth's blog - Living Well, Spending Less!  Click on the icon below to see the matching project and review, enter the giveaway too!!! :)


Thanks so much for stopping by, and have a GREAT day! :)
Crystal

CYBER MONDAY!

Hiya folks!

1) Today only I'm offering FREE SHIPPING on orders ($15.00 and above) placed in my Etsy Shop!
CLICK HERE to visit my craftincrystal Etsy Shop!

2) Remember, there's a great Stampin' Up offer going on...
CLICK HERE for more info! FYI - you can order directly through me and have it ship to YOU!


Back soon with Day 2 of my Snowflake Series!

Thanks for stopping by, and have a GREAT day! :)
Crystal

Thursday, November 25, 2010

HAPPY THANKSGIVING!

Funny...seems like I should be saying "Merry Christmas" with the view that greeted me this morning:


The girls, of course...have been VERY excited, and out there all morning. Snow angels, sledding, tromping through, building things, forgetting about being cold.  Want to know what they've been doing the most?  Using their own little snowshovels to create paths....made my job a little easier! :)


Whatever this Thanksgiving brings you, I hope that it is a wonderful day filled with beautiful memories being made!

I've so much to be thankful for...but right now, all I want to do is say thank you to you, and say I'm thankful for YOU! :)

THANK YOU for stopping by, and have a WONDERFUL day!
Crystal

Wednesday, November 24, 2010

Snowflake Gift Series #1 - and TUTORIAL!

Hello, and welcome to Day 1 of my Snowflake Series!
Each day with a new gifty project, featuring Stampin' Up's stamp set, Serene Snowflakes!

(Remember, yesterday I showed you a teabag holder and said to come back for a tutorial)

It all started b/c I had that 'secret project' I was working on (see bottom of post). One card for Ruth to make turned into 3, and then I got inspired and made several projects to match, using the same materials! 

Day #1 - Teabag Holder


Here's an inside view:


FYI: My plan was to make a video, but I'm not having much luck with those right now. ;-)

Ready to get started?
OK! 
Step 1:  6"x6" pc. cardstock (bashful blue)
Step 2:  Score at 3", turn and score at 3" again.


Step 3: Cut at an angle from RH corner up to middle, and LH corner up to middle.


It should then look like this:


Step 4: Fold on creases.


Step 5: Lay out flat again and stamp front & back portions, and flaps.


Step 6: Adhere sticky strip to each side, as close to the edge as possible.


Step 7: Fold upward onto sticky strip, and you've got your pockets!
Step 8: Decorate front, add a little matching note on the inside!


VOILA!
If instead of making them, you'd still rather purchase a set of these from me, let me know - I'll set up something for you in my Etsy shop! :)  I'll make up the holders, you put in the treat -- no tea-lovers that you know of?  Mmm...how about a Ghiradelli Chocolate - perfect! :)

Now...remember to go check out the matching project...at my review/giveaway on Living Well, Spending Less's 30 Days of Holiday Cheer!  Oh, but first, what do you think of today's project? ;-)


The Small Print (All Stampin' Up)
Stamps: Serene Snowflakes
Ink: Marina Mist
Cardstock: Bashful Blue, Marina Mist, Whisper White
Accessories: 2way glue pen, Dazzling Diamonds, Marina Mist taffeta ribbon, Dimensionals, Paper Cutter

Thanks sooo much for stopping by, and have a GREAT day! :)
Crystal

SPECTACULAR Sale!!

I just had to sneak this in...will post my tutorial soon, but we're losing days with this if I wait any longer!!

OH, MY.

If you're planning out your shopping strategy, make sure to put my Online Stampin' Store on the list!  You won't want to miss these "door busters"!  Even better - you don't have to wait until Black Friday and miss out on your other shopping - SHOP NOW!

Imagine - 50% off My Digital Studio & Designer Fabric!  Time to stock up on gifts for that crafter in your family...or yourself!  There's something for everyone, at 20-50% off! Stamp sets, Sizzix dies, Rhinestone brads, Hodgepodge hardware, Ribbon, Decor Elements, Digital Downloads, Designer papers & much more!!

Plus, get FREE Shipping on any online order over $150 (before tax and shipping)!

Gather a friend or two & place your order to get the free shipping plus hostess benefits. Order from any catalog, too - doesn't have to be from the Holiday Bundles seen here. Remember, for product bundles, you must use the bundle item numbers provided. Bundle discounts will not be applied if individual item numbers are used.


Click here to view a list of all the sale products, or take a look in my Online store here, or website here.  If you're in the Online Store and you'd like to go to my SU website, click on Crystal Lenssen Home (in top LH corner).   (Note: When viewing the bundles in the Online Store, click "More Images" to see photos of the other products in the bundle)

*********************
And don't forget about the Amazing Deal where you can join Stampin' Up! for just half price from now through November 30th. You get over $310 of crafting & business supplies for just $87.50!!!!

Simply Amazing promotion starter kit
 
Contact me to join or to ask any questions you may have about joining. Or just click here to enter my web site. Go to the upper right corner & click on the 'Start Your Own Business' button.
 
WHEW!!  Clear as mud?
I just didn't want to delay any longer and have you miss out on fabulous deals!
 
Back soon with the tutorial...
Thanks for stopping by, and have a WONDERFUL day! :)
Crystal

Tuesday, November 23, 2010

Chocolate Cherry Crumb Cake

Mmmm...sounds good, huh?  Well, I'm not really a fan of cherries, but chocolate and cake sound good in the same sentence, am I right? ;-)

Okay, so maybe this is a little misleading, lol.  I'm actually here to share a little (non-food) project with you.

I had another plan for today, but I saw the color challenge on SCS and had to participate.  I mean, Chocolate Chip, Cherry Cobbler, and Crumb Cake?  It's one of my most favorite color combos!

So I made this:


Would you like to see see inside? OK. :)


A teabag holder! Complete with card (goes in other pocket) to write a note! :)  What a great little desk gift for co-workers, ladies in your Bible Study, bus driver, teacher...you get the idea! :)

Would you like to learn how to make a neat lil' gift such as this?  You would?  Great! :)

I'll be back later to share a tutorial with you on a related project...my first post in a SERIES!!
Here's a sneak peek:


I know, I know...that hardly seems fair. However, today didn't really go as I had planned, so I ran out of time.  I do have the pictures taken, I just have to put it all together for ya!

Here's the info on the CCCC Teabag Holder:
The background?  That's the "Take A Sip" wheel.
The main images?  From "Morning Cup" stamp set.
Sponged the edges...colored with aquapainter and ink pad lids.

Well, what do you think?

Have you checked out my review/giveaway yet on Living Well, Spending Less?  Run! :)  But not before commenting here about today's project...cause ya know how I love the love! :)

Back soon with a tutorial! :)
ETA: Here's the tutorial!

Thanks so much for stopping by, and have a GREAT day! :)
Crystal

Monday, November 22, 2010

Featured on 30 Days of Holiday Cheer!

Well, the day has finally arrived, and it explains why I haven't been posting much...

I'm so excited to tell you I'm being featured on the blog Living Well, Spending Less!

This gal is a-mazing!  Her blog is all about living well, spending less - who wouldn't want to do that??!!  She has such a creative spirit and is super-savy when it comes to saving money - this gal AMAZES me.  I thought I was good with couponing & bargain hunting. Um, no.

Anywho....without further ado...I bring you....


Oh...did I mention there's a GIVEAWAY?!   :)

Click the Holiday Cheer icon above to go to Ruth's Blog "Living Well, Spending Less", where you'll read all about it! :-)

Stay tuned...I've got fun posts scheduled all week!

Thanks for stopping by and have a GREAT day! :)
Crystal

Thursday, November 18, 2010

A Blogover, Etsy Update, & Computer Issues

Can you tell something looks a bit different around here? :)  Thanks to some help from a sweet friend of mine, my blog was able to receive it's first "Blogover" (aka blog makeover).  It's not exactly perfect, but with some more tweaking, I think it'll be ok! :)

I'm sitting on the couch at my parents', using their computer. Yup, we need a new computer so bad, and it seems like we may have to get one sooner than later.  I was hoping to wait & score an "After-Thanksgiving" super-deal, but we'll see.  Ahhh...loving this laptop experience!! Oh, and it moves sooo much quicker than my dinosaur at home. ;-)

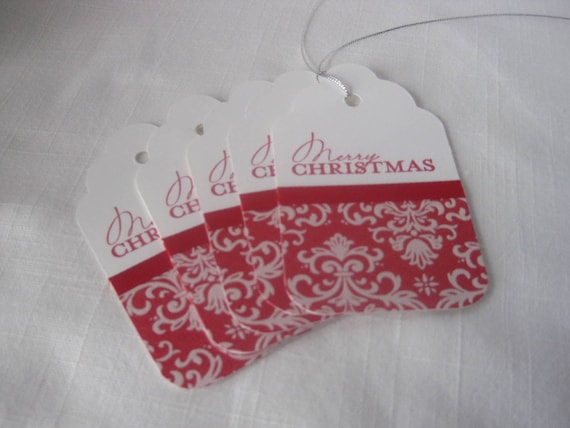
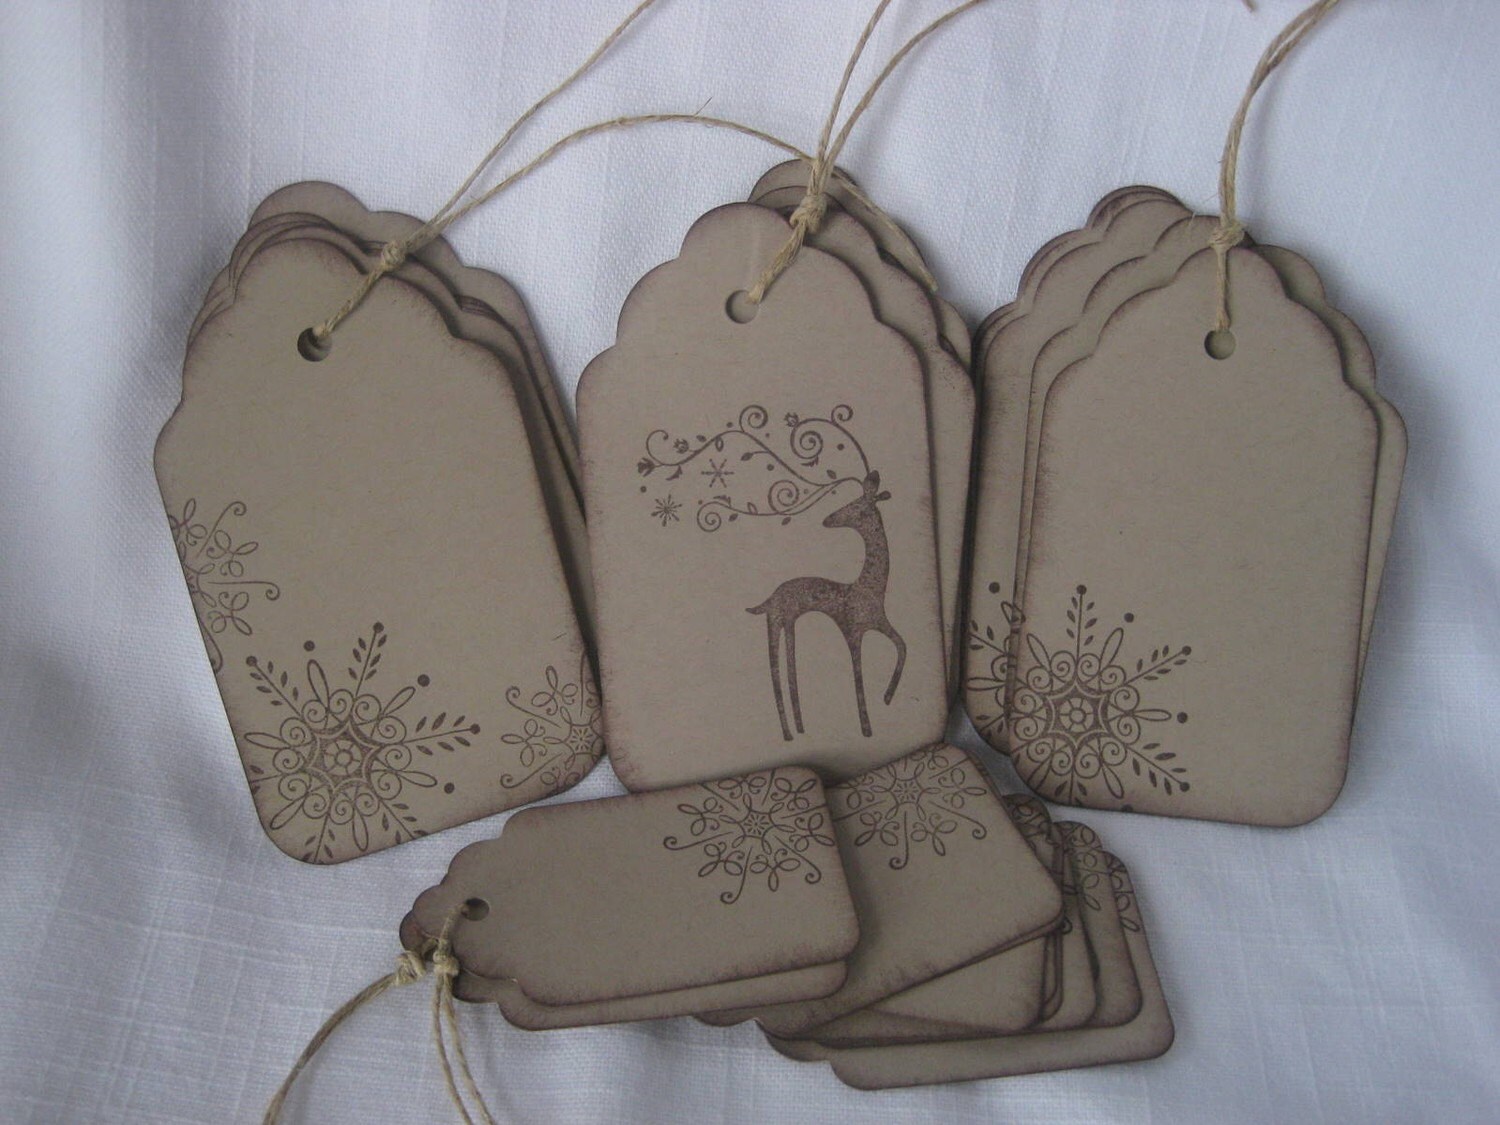
C'mas Tags Flocked (set of 6)What else?  Oh, I've been updating my Etsy Shop like crazy...made a snazzy new banner to match my blog, and adding a ton of stuff for your shopping convenience (and MORE will be added daily).  What does every gift need?

 Or THIS:


Go ahead, check out my updated Etsy site, HERE - all sorts of matchy-matchy gift tags at reasonable thrifty prices! My friend says I need to up the prices...silly girl! :)

Would you like a blog tour?
At the top you'll see some tabs. Click on each for more info.  There's a new tab labeled "Stampin Up Catalogs" - your one click source for all the current SU catalogs!

The RH column is pretty much the same...some items moved around...except for one big NEW thing!!

A direct link to my Stampin' Up website where you can see the current promos, projects, and more! Once there, you can shop directly through me by clicking on  SHOP NOW.  Yay!! So easy-peasy - whenever you want -24/7!  Order ships directly to you! :)

Well, what do you think?  Take a look around, let me know if you have any questions....and STAY TUNED!  I'm going to be featured on a blog soon...with a giveaway included!  I'll link up when the time arrives! :)

Thanks so much for stopping by, and have a GREAT day! :)
Crystal

Monday, November 15, 2010

Mini Pocket Album

As a demonstrator, I have access to some great resources.  One of those being a monthly magazine called "Stampin' Success".

I stole selected a project featured inside and made it my own.

Here's the outside:


And here's the inside!


What a great little gift for someone special, this Holiday season!

I am NOT a scrapbooker.  But this, this I can do. ;-)
Well, what do you think of it?

Interested in becoming a demonstrator and having access to more ideas and inspiration?
There's a great current promo right now - contact me today! :)

The Small Print (All Stampin' Up)
Stamps: Just Believe
Ink: Old Olive, Crumb Cake
Cardstock: Old Olive, Crumb Cake, Whisper White, Baja Breeze
Accessories: Old Olive & Whisper White taffeta ribbon, Beautiful Wings embosslit, Mini library clips, Big Shot, Dimensionals, Markers

Thanks so much for stopping by, and have a GREAT day! :)
Crystal

Sunday, November 14, 2010

Letting Go

There are times when a mom decides to just let go and say, "okay...go for it!" :)

Awhile back, my daughters were playing outside...in a slight drizzle. Yup, where we live, we have MANY different names for many different kinds of rain. ;-)

When they came back to the house to say hello, I looked at their wet clothes and groaned inwardly.  Started thinking about how I would get these type of stains out of pink clothing, that they were probably getting too cold, and ugh...isn't this a BOY type of thing to do? lol.

But then, I threw that aside and decided to capture their childhood fun.  I think they were a little shocked that I wanted them to go back ouside and do it again, this time, for ME! :)

Soo...we began the trek to the end of the street.


Yup...at this point it was still okay with me (do you see how deep it is??)


And now, with full abandon and permission from their (now oh so fun) mom:


Time for a change of clothes and hot chocolate! :)

Thanks for stopping by, and have a WONDERFUL Sunday! :)
Crystal

Friday, November 12, 2010

Punchy Pumpkins!

Nope, they're pumpkins that are acting silly (wink)....

They're pumpkins made from punches!
Here's a couple of cards I made yesterday to add to my Etsy Store:


I've admitted to you before that I'm a paper hoarder, right?  Well, I've been trying to get over that and use some of my older (retired) designer paper --- so here's 2 cards using retired DSP called "Autumn Vine".

The middle oval on each pumpkin is popped up on dimensionals (of course), the stems are ribbon pieces, and I made the vines for each with a tiny strip of cardstock.

I updated my Etsy shop this morning, too.  Hop on over to MY ETSY SHOP to view this and the tree cards from yesterday...plus a little more!  Hoping to add a few more things today, too! :)

Well, what do you think?  Do you have a favorite between the two cards?

The Small Print (All Stampin' Up)
Cardstock: Chocolate Chip, Sage Shadow, Whisper White, Very Vanilla
Paper: Autumn Vine DSP
Accessories: Sage Shadow grosgrain ribbon, Large and Small oval punches, Dimensionals

Thanks so much for stopping by, and have a GREAT day! :)
Crystal

Thursday, November 11, 2010

Lovely, Lovely, Lovely

So, I had a friend threaten me with bodily harm if I didn't post to my blog soon. Just kiddin'...kinda, lol. ;-)  Glad to know people out there care whether I post or not! :)

I have a little secret, and it explains where I've been.
I've been working on a project...for a blog I'm going to be featured on!!!  Yup - so excited!! Stay tuned for more info on that!  Anyways, that took a ton of my time, and I was in uber-creative mode and could think beyond nothing but this secret project.

But now I'm back! :)  Here's what I made up today...
featuring our stamp set "Lovely As A Tree"


It was so refreshing to create for fun, again! :)  Look for these cards to appear on my Etsy site, soon!

Want a close up of each LOVELY? ;-)
#1 - Lovely Landscape Trees


#2 - Lovely Tall Tree


#3 - Lovely Maple Tree


I used an old (retired) Stampin' Up Designer Paper called "Juntos" - it was from our Spanish Catalog and I fell in love with it the moment I laid my eyes on it!  The colors I used here are so rich...Chocolate Chip, Always Artichoke, and Very Vanilla. Each main image is up on dimensionals (of course!). :)

Well, what do you think?  Do you have a favorite?

The Small Print (All Stampin' Up)
Stamps: Lovely As A Tree
Ink: Chocolate Chip, Always Artichoke
Cardstock: Chocolate Chip, Always Artichoke, Very Vanilla
Paper: Juntos DSP
Accessories: Chocolate Chip Taffeta ribbon, Dimensionals, SU markers

Thanks so much for stopping by, and have a GREAT day! :)
Crystal

Saturday, November 6, 2010

You, Light Up My Life!

You have that tune in your head now, dontcha? ;-)
Me too....ever since I made these:


Too bad I don't know the rest of the lyrics. Oh wait...GOOGLE!  Be right back....

Well, this part of the chorus DOES kind of apply!!  WOO HOO!
"You, light up my life....you give me hope...to carry on"

Explanation: I made these to put with the orders that the gals placed at my 5year Demo Party. A little thank you, if you will.  :)  To be honest, sometimes it does look a little hopeless, being a demo.  There's been more than once that I thought I'd have to quit...but then something happens (usually thanks to these gals), and I have hope to carry on! :)  Oh, and...they really do light up my life, too! :)

The deets: The sentiment is computer-made. I used a new set "Growing Green" to stamp the outline flowers, then there's the Early Espresso cardstock matting around it. At the top of the treat bag (SU's small cello bag) is the new DSP from the mini catalog, "Deck the Halls".

Well, what do you think?

Thanks so much for stopping by, and have a GREAT day! :)
Crystal

Thursday, November 4, 2010

Getting Caught Up

I know...I haven't posted anything yet today.

I'm getting caught up around here.
At the moment:  Paying bills, entering receipts into computer, and balancing the checkbook.
You know, fun stuff. ;-)

Before I forget...y'all are just way too sweet!!
Thank you so much for the nice comments on yesterday's post.
I still think the original is better...but who am I to argue with you? ;-)  hee hee...

Back tomorrow with a project to share! :)

Thanks so much for stopping by, and have a GREAT day! :)
Crystal

Wednesday, November 3, 2010

CASED Cardinal

CASE = Copy And Share with Everyone
Essentially.  There are a few variations on what the letters stand for, but essentially, it means to copy an idea, possibly tweak it a little, and then share! :)

Here's the card I *loved* from the catalog (p39). I actually set out to make it, then realized I really didn't feel like trying to sew on my card, and also didn't have the lace they used.  I basically went with the general idea of it, used some of the same elements, added new elements, making it my own.


Honestly...I still like the one in the catalog better, lol.  But hey...at least it shows you that you can pretty much copy a card you like, but still make it your own! :)

Here's my new version:


Well, what do YOU think?

The Small Print (All Stampin' Up)
Stamps: A Cardinal Christmas
Ink: Chocolate Chip, Soft Suede
Cardstock: Cherry Cobbler, Always Artichoke, Naturals Vanilla
Accessories: Scallop Trim border punch, Build-A-Brad, Early Espresso taffeta ribbon, 1/2" Chantilly lace ribbon, Color Spritzer, Soft Suede marker, Aquapainter, Ink pad lids
Technique: Watercoloring

Thanks so much for stopping by, and have a GREAT day! :)
Crystal

Tuesday, November 2, 2010

Tiny Scalloped Snowscape

Okay, I know...we just hit November. You may think it's too early to be thinking Christmas, but when it comes to crafting, it's never too early!  Wait, I take that back. Those gals who make their Christmas cards in June have got to be crazy! lol (jk if you are one of them - wink)

Anyways...just know that November's posts will likely include both Fall and Christmas. :)

Here's a cute lil' thing I made to have on display at my 5year Party:


It's a 3x3 card and it was so fun to make!

I often get inspiration and use it, make it my own.  But then, there are the times I'm so excited, because I didn't get the idea from anywhere else but my own brain. You laugh.  I celebrate!  It means I can still think...even with my crazy-mommy brain that sometimes feels like mush! lol. ;-)

Sooooo....you wanna know what I did, don't you?

Card base: Crumb Cake cardstock cut 3x6, fold in half

Snow Scene: Cut (2) scallop rectangles (Whisper White, Bashful Blue) out with the Big Shot and our new Clearlit die.  I proceeded to tear the white rectangle to make it look like a snow bank, then attached it directly to the blue layer. Applied dazzling diamonds glitter to the torn edge to give the illusion of sparkly snow...and because I *heart* dazzling diamonds. ;-)

Trees: Cut (1) larger Old Olive and (2) smaller Pear Pizzaz trees out using the Big Shot and "Merry Details" sizzlit.  I colored the trunks with my Chocolate Chip marker, and applied the smaller 2 directly to the cardstock, and the middle one...well, of COURSE it's up on a dimensional. Cuz I *heart* dimensionals. :)

What about that red bling?  Wellllll....it's one of our (awesome deal - $4.95 for 150) adhesive-backed Rhinestones, colored with a red Sharpie marker! :)

Oh, and the red layer behind the scalloped snowscape is my favorite red....Cherry Cobbler!

Well, what do you think?

The Small Print - this time, I'm not going to repeat the ingredients - it's all in the info above! :)

Thanks so much for stopping by, and have a GREAT day! :)
Crystal

Monday, November 1, 2010

A Thank You Mum

I never buy flowers for myself (consider it an extravagance), but these were so beautiful and bright and cheery and Fall, perfect for my front door! :)  So, when I gave in to that impulse, bought a pot of these beautiful mums, and a few days later found them dead, I was sad. To say the least. ;-)

I was lamenting the fact to my MIL (mother-in-law), and a few days later, what did I find by my front door? Mums!! :)

I knew exactly what I wanted to do on my thank-you card to her:


Okay, so it's not perfect, but I had trouble with one of the layers, lol!  I learned how to make this flower on Stampin' Up's demo-only website - thank you, Diane Dechaine!  I will say it was a little time-consuming, but overall, a pleasant effect during this beautiful Fall season! :)

I wanted the flower to be the focalpoint, so I kept the layout quite simple.  Just a "Thank You" stamp, some layers of Vanilla, Cherry Cobbler and More Mustard cardstock, and some more Cherry Cobbler...this time in the form of ribbon (mini catalog)! :)

Oh...in case you're wondering what's in the middle of the flower...it's coffee grounds. ;-)

Well, what do you think?

The Small Print (All Stampin' Up)
Stamps: Thank You Kindly
Ink: Early Espresso
Cardstock: Very Vanilla, Cherry Cobbler, More Mustard
Accessories: Cherry Cobbler seam binding, Boho Blossoms Punch, Stylus, Stampin' Pastels, Blossom Party Die, Big Shot

Thanks so much for stopping by, and have a GREAT Monday! :)
Crystal